-
[Compose] ML kit으로 바코드 읽고, OCR을 해보자Android📱 2023. 5. 4. 22:46


CameraX x Compose x ML kit을 이용한 OCR
구글에서 제공하는 ML Kit에는 다양한 기능들이 있다.
그중 OCR 기능과 바코드 스캔 기능이 존재한다.
*OCR이란
Optical Character Recognition의 약자로 광학 문자 인식이라고 해석할 수 있다.
광학 문자 인식(OCR)은 텍스트 이미지를 기계가 읽을 수 있는 텍스트 포맷으로 변환하는 과정이다.
이미지에 있는 텍스트를 인식해서 추출해 내는 기능이라고 생각하면 된다.
이번에 이 기능들을 써야 할 일이 생겨서 예제를 만들어보며 기능을 적용시켜 보았다.
이번에 사용해 볼 기능들을 보면 제일 필요한 것은 카메라이다.
카메라 같은 경우는 CameraX를 사용해 주면 더 수월하게 진행이 가능해진다.
1. dependencies 추가
  // To recognize Latin script
  implementation 'com.google.mlkit:text-recognition:16.0.0'

  // To recognize Chinese script
  implementation 'com.google.mlkit:text-recognition-chinese:16.0.0'

  // To recognize Devanagari script
  implementation 'com.google.mlkit:text-recognition-devanagari:16.0.0'

  // To recognize Japanese script
  implementation 'com.google.mlkit:text-recognition-japanese:16.0.0'

  // To recognize Korean script
  implementation 'com.google.mlkit:text-recognition-korean:16.0.0'
ML Visiond에 Text 인식을 사용하려면 위에 dependency를 추가해 주면 된다.
각 언어에 맞게 추가해 주면 되고 기본으로 추가하면 한글인식이 잘 안 된다.
// Use this dependency to bundle the model with your app
  implementation 'com.google.mlkit:barcode-scanning:17.1.0'
바코드, QR 인식은 위에 dependency를 추가해주어야 한다.
2. Manifest
<application ...>
      ...
      <meta-data
          android:name="com.google.mlkit.vision.DEPENDENCIES"
          android:value="barcode|ocr" >
      <!-- To use multiple models: android:value="barcode,model2,model3" -->
</application>
매니페스트에도 메타 데이터를 추가해 주어야 하는데
텍스트 인식과 바코드를 둘 다 사용할 거라서 barcode | ocr 이런 식으로 추가해 주면 둘 다 사용이 가능해진다.
그리고 마지막 남은 CameraX까지 추가해 주면 된다.
// CameraX
implementation "androidx.camera:camera-core:${camerax_version}"
implementation "androidx.camera:camera-lifecycle:${camerax_version}"
implementation "androidx.camera:camera-view:${camerax_version}"
implementation "androidx.camera:camera-extensions:${camerax_version}"
implementation "androidx.camera:camera-camera2:${camerax_version}"
카메라를 사용하려면 당연히 권한 추가를 해주어야 한다.
퍼미션은 Compose다 보니 accompanist를 이용했다.
이 글에서는 카메라에 관한 설명은 안 할 거라서
퍼미션 관련내용은 Accompanist를 참고하면 된다.
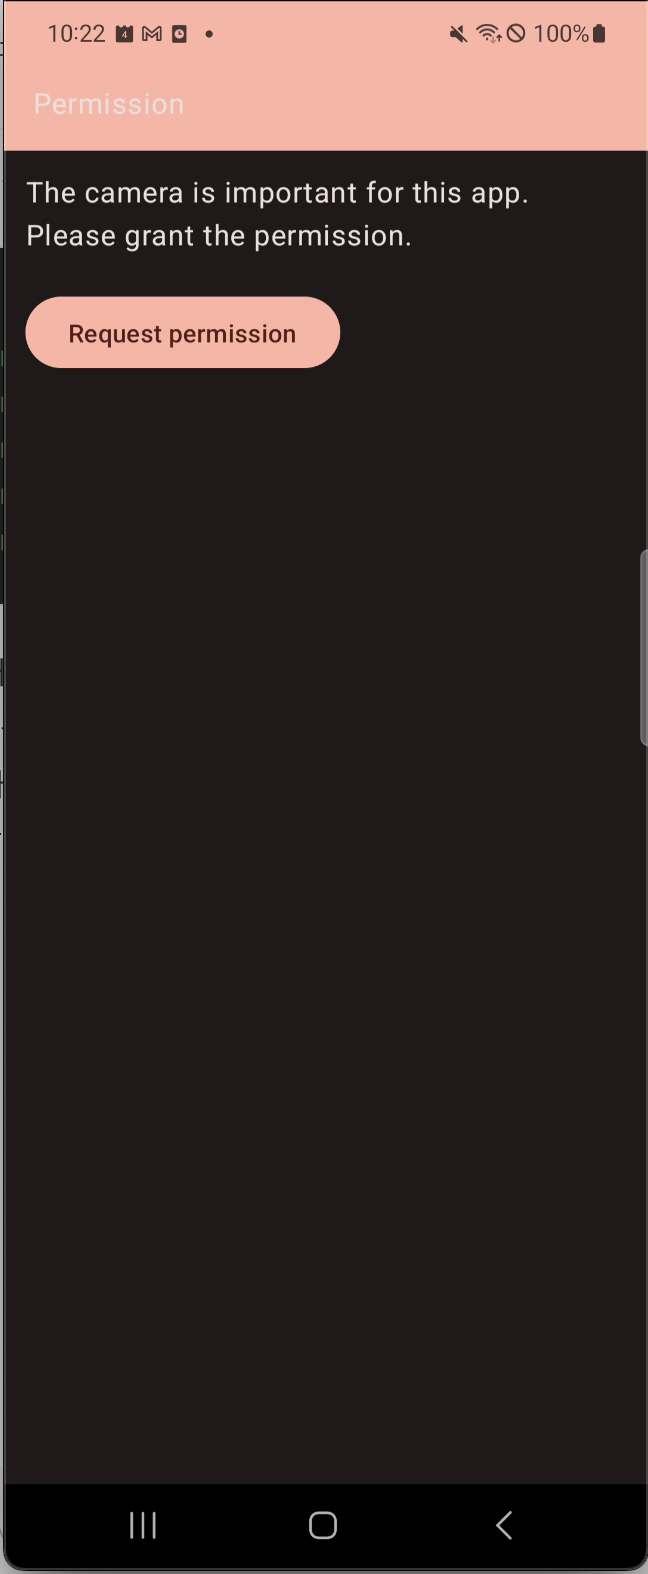
3. 퍼미션 화면

카메라를 쓰기 위해서는 퍼미션을 확인해야 하니 권한 화면을 만들어서 권한을 확인해 준다.
이 부분은 Accompanist 참조
4. Preview화면
CameraX를 사용하면 카메라 화면을 Preview로 보아야 한다.
Compose에서는 AndroidView를 사용해서 Preview를 만들어 주어야 한다
@Composable
fun CameraPreViewScreen(
    state: CameraScreenState,
    navToResult: (String) -> Unit
) {
    val lifecycleOwner = LocalLifecycleOwner.current
    val context = LocalContext.current
    val cameraProviderFuture = remember { ProcessCameraProvider.getInstance(context) }

    Column(
        modifier = Modifier,
        verticalArrangement = Arrangement.Center,
        horizontalAlignment = Alignment.CenterHorizontally
    ) {
        AndroidView(
            factory = { ctx ->
                val previewView = PreviewView(ctx)
                val executor = ContextCompat.getMainExecutor(ctx)

                cameraProviderFuture.addListener({
                    val cameraProvider = cameraProviderFuture.get()
                    val preview = Preview.Builder().build().apply {
                        setSurfaceProvider(previewView.surfaceProvider)
                    }

                    val cameraSelector = CameraSelector.Builder()
                        .requireLensFacing(CameraSelector.LENS_FACING_BACK)
                        .build()

                    cameraProvider.unbindAll()
                    cameraProvider.bindToLifecycle(
                        lifecycleOwner,
                        cameraSelector,
                        state.imageCapture,
                        preview
                    )
                }, executor)
                previewView
            },
            modifier = Modifier
                .fillMaxWidth()
                .weight(9f),
        )
        Button(
            onClick = {
                takePicture(
                    context = context,
                    imageCapture = state.imageCapture,
                    executorService = state.cameraExecutor,
                    navToResult = navToResult
                )
            },
            modifier = Modifier
        ) {
            Icon(imageVector = Icons.Default.Done, contentDescription = null)
        }
    }
}
takePicture 함수
fun takePicture(
    context: Context,
    imageCapture: ImageCapture,
    executorService: ExecutorService,
    navToResult: (String) -> Unit
) : String {
    MediaActionSound().play(MediaActionSound.SHUTTER_CLICK) // 셔터 소리
    val outputDirectory = context.getOutputDirectory()
    // Create output file to hold the image
    val outputFileOptions = ImageCapture.OutputFileOptions.Builder(outputDirectory).build()
    var value = ""
    imageCapture.takePicture(outputFileOptions, executorService,
        object : ImageCapture.OnImageSavedCallback {
            override fun onError(error: ImageCaptureException) {
                value = "fail"
            }
            override fun onImageSaved(outputFileResults: ImageCapture.OutputFileResults) {
                outputFileResults.savedUri?.let {
                    recognizeText(InputImage.fromFilePath(context, it))
                        .addOnCompleteListener { task -> navToResult(task.result.text) }
                }
            }
        })
    return value
}
사진을 촬영하고, 이미지에서 텍스트를 추출한다.
5. ML kit text 추출 함수
fun recognizeText(image: InputImage): Task<Text> {
    val koreanRecognizer = TextRecognition.getClient(KoreanTextRecognizerOptions.Builder().build())
    Log.i("흥수", "rr")
    return koreanRecognizer.process(image)
        .addOnSuccessListener { visionText ->
            for (block in visionText.textBlocks) {
                val boundingBox = block.boundingBox
                val cornerPoints = block.cornerPoints
                val text = block.text
                Log.i("흥수 ko 1", text)
                processTextBlock(visionText)
            }
        }.addOnFailureListener { e ->
            Log.e("$e", "koreanRecognizer 실패 ${e.message}")
        }
}

private fun processTextBlock(result: Text) {
    // [START mlkit_process_text_block]
    val resultText = result.text
    Log.i("흥수2", resultText)
    for (block in result.textBlocks) {
        val blockText = block.text
        val blockCornerPoints = block.cornerPoints
        val blockFrame = block.boundingBox
        Log.i("흥수3", blockText)
        for (line in block.lines) {
            val lineText = line.text
            val lineCornerPoints = line.cornerPoints
            val lineFrame = line.boundingBox
            Log.i("흥수4", lineText)
            for (element in line.elements) {
                val elementText = element.text
                val elementCornerPoints = element.cornerPoints
                val elementFrame = element.boundingBox
                Log.i("흥수5", elementText)
            }
        }
    }
}
텍스트 추출은 간단하다. TextRecognition의 getClient에 분석하고 싶은 언어팩이 있는 옵션을 넣어어서 인스턴스를 생성하고,
process로 InputImage를 넘겨주면 콜백으로 성공, 실패 여부와 데이트를 반환해 준다.
(InputImage.fromFilePath에 저장된 이미지 경로만 넘겨주면 InputImage를 만들 수 있다.)
그 데이터로 해주고 싶은 액션을 해주면 끝!
6. 바코드 스캔
바코드 스캔은 ImageAnalysis.Analyzer를 이용
카메라에 잡히는 이미지를 바로 분석해서 바코드의 정보를 가져오는 방식으로 진행해 보자
@androidx.annotation.OptIn(androidx.camera.core.ExperimentalGetImage::class)
private fun getImageAnalyzer(): ImageAnalysis.Analyzer {
    val scanner = getScanner()
    return ImageAnalysis.Analyzer { imageProxy ->
        val mediaImage = imageProxy.image
        mediaImage?.let {
            val image = InputImage.fromMediaImage(
                mediaImage,
                imageProxy.imageInfo.rotationDegrees
            )
            scanner.process(image).addOnSuccessListener { list ->
                list.forEach { barcode ->
                    when (barcode.valueType) {
                        Barcode.TYPE_WIFI -> {
                            val ssid = barcode.wifi!!.ssid
                            val password = barcode.wifi!!.password
                            val type = barcode.wifi!!.encryptionType
                            Timber.tag("CardScanner").i(ssid)
                            Timber.tag("CardScanner").i(password)
                            Timber.tag("CardScanner").i(type.toString())
                            barcode.wifi?.let { callBacks[CallBackType.ON_SUCCESS]?.invoke(it.toString()) }
                        }

                        Barcode.TYPE_URL -> {
                            val title = barcode.url!!.title
                            val url = barcode.url!!.url
                            Timber.tag("CardScanner").i("title %s", title)
                            Timber.tag("CardScanner").i("url %s", url)
                            url?.let { callBacks[CallBackType.ON_SUCCESS]?.invoke(it) }
                        }
                    }
                }
            }.addOnCompleteListener {
                imageProxy.close()
                mediaImage.close()
            }.addOnFailureListener {
                callBacks[CallBackType.ON_FAIL]?.invoke("바코드 스캔에 실패하였습니다.")
            }
        }
    }
}
val imageAnalysis = ImageAnalysis.Builder() .setBackpressureStrategy(ImageAnalysis.STRATEGY_KEEP_ONLY_LATEST) .build().apply { setAnalyzer( executor, getImageAnalyzer() ) }위 코드를 프리뷰를 설정하는 AndroidView 안에 addListener에 추가해 주고
cameraProvider.bindToLifecycle(
    lifecycleOwner,
    cameraSelector,
    preview,
    imageCapture,
    analysis
)
바인딩할 때 analysis를 추가해 주면 ImageAnalysis.Analyzer를 사용할 수 있다.
Analyzer는 ImageProxy를 반환해 준다
ImageProxy안에 image를 받아서 InputImage로 전환하고, 바코드 분석 함수에 넘겨주면
텍스트 추출처럼 바코드의 정보도 받아올 수 있다.
7. 바코드 스캔 함수
val options = BarcodeScannerOptions.Builder()
    .setBarcodeFormats(
        Barcode.FORMAT_QR_CODE
    ).enableAllPotentialBarcodes()
    .build()
val client = BarcodeScanning.getClient(options)
바코드 스캔 함수도 텍스트 추출과 같다
getClient를 사용해서 client를 만들고,
process에 InputImage를 넘겨주면 분석해서 바코드의 정보를 반환해 준다.
option을 줘서 바코드의 타입도 정할 수 있음
여기까지 작성을 하면 사진을 찍어서 텍스트를 추출하고,
바코드를 스캔하는 간단한 앱을 만들 수 있다!
참고 : https://github.com/ese111/CardScanner
GitHub - ese111/CardScanner
Contribute to ese111/CardScanner development by creating an account on GitHub.
github.com
* 계속 업데이트 중이라 코드가 설명과 많이 다를 수 있습니다. 먼저 간단한 앱을 만들어서 CameraX와 ML kit 사용법을 익히신 후 확인하시는 걸 추천드립니다.
'Android📱' 카테고리의 다른 글
[Android] ContentResolver로 연락처가져오기~~! (0) 2023.05.30 [Android] Compose State (0) 2023.05.16 Android Full Screen 화면 만들기~~~ (0) 2023.03.20 [Android] Back 버튼 조절 onBackPressedDispatcher (0) 2023.02.21 [Android] 앱 언어 변경 (0) 2023.02.15
